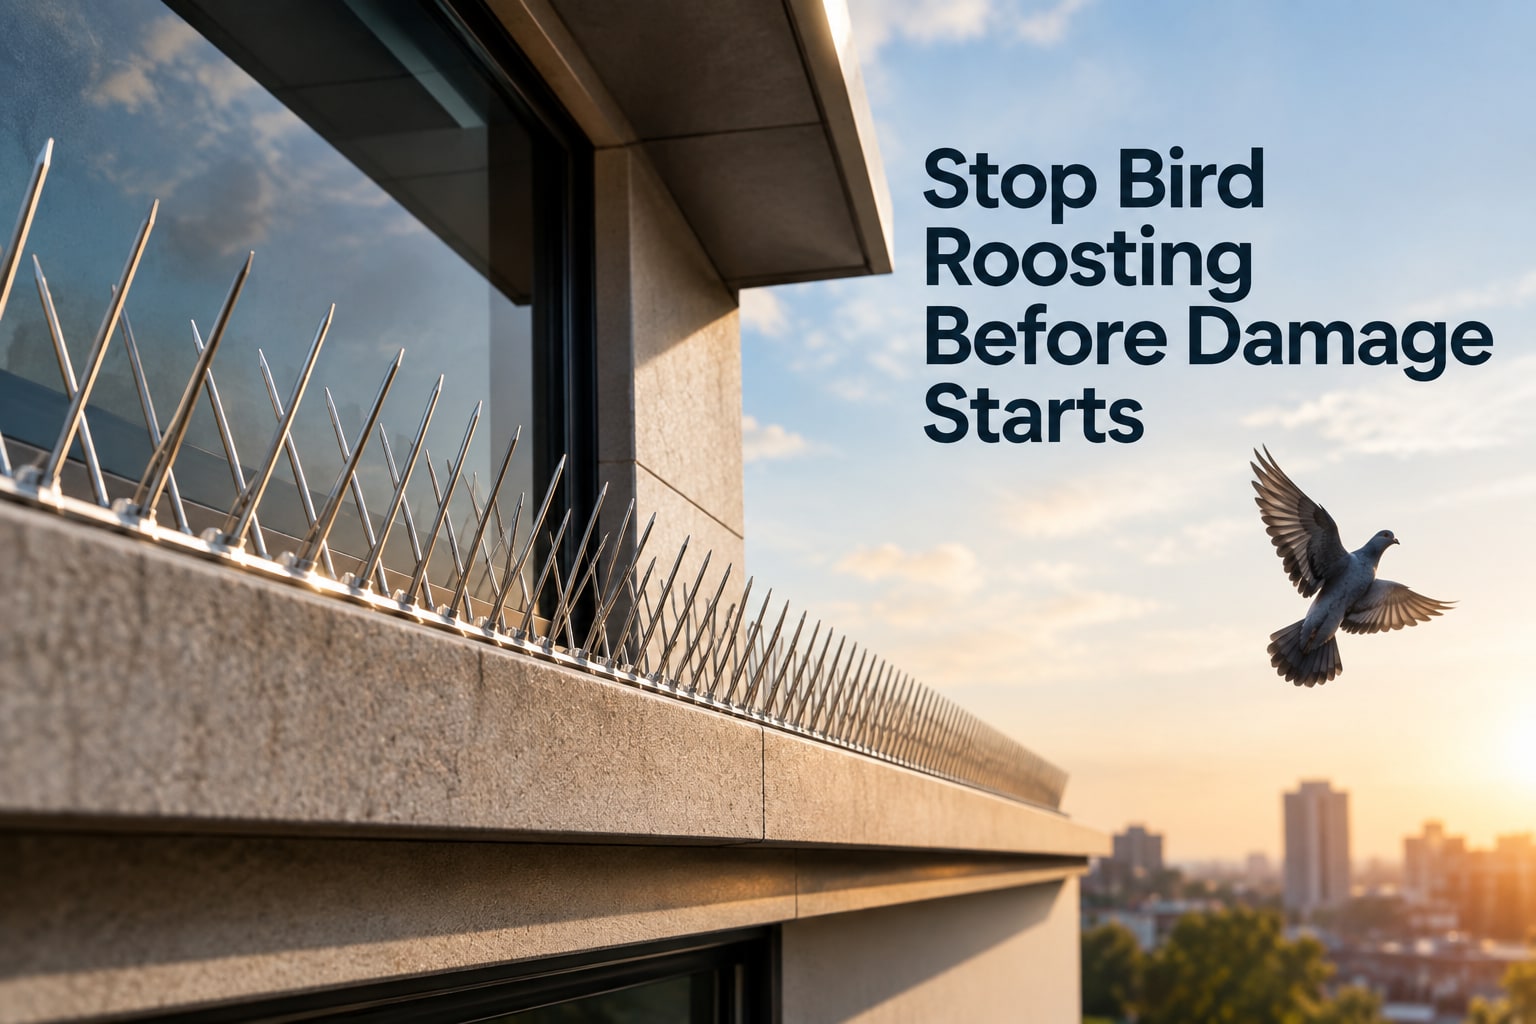
Bird spikes make sense when birds repeatedly use a defined ledge or beam as a roost and the landing surface can be covered continuously. By the end, you will be able to identify whether you have a roosting problem, measure the area, choose between spikes and other controls, and avoid disturbing an active nest or creating a maintenance hazard.
Key takeaways
- Confirm birds are roosting before blocking access to a ledge.
- Match the spike design and fixing method to the surface.
- Measure ledge width and length before calculating spike rows.
- Inspect the treated area after installation and correct gaps promptly.
Confirm that birds are roosting, not nesting
Repeated bird droppings on one narrow ledge, fresh feathers, and birds returning to the same spot each day indicate a recurring roost. Aggressive roosting birds that defend the ledge, foul an air-conditioning unit, or block a nearby drain strengthen the case for preventing landings there.
Nesting material changes the decision. Twigs, grass, cloth, feathers arranged into a cup, eggs, chicks, or adults carrying food indicate nesting rather than simple roosting. Do not pull material away or fit spikes over it; check local wildlife rules and contact a qualified wildlife professional before disturbing an active nest.
1. Observe the area from a safe distance at dawn and late afternoon for several days. Record whether birds land briefly, sleep there overnight, or carry material into a cavity.
2. Check behind signs, under ledges, inside roof edges, around pipes, and above air-conditioning units for a concealed nest. Look for eggs, chicks, trapped birds, and fresh nesting material before moving anything.
3. Confirm that the target species matches the proposed spike system. Small birds can pass between wires designed for pigeons, while large birds can bridge a shallow strip on a deep ledge.
4. Treat accumulated droppings as a separate health-and-safety job. Wet dried deposits before removal to suppress dust, avoid dry sweeping, and use appropriate respiratory protection for higher-risk cleaning because contaminated dust can carry histoplasmosis risk.
After installation, inspect the strips after storms and façade work. Leaves, droppings, lifted adhesive, shifted sections, and loose wire ends can create hazards and give birds a new landing gap.
Match the control to the surface and the problem
Bird spikes suit recurring roosting on defined, narrow horizontal surfaces: window ledges, parapets, signboards, beams, air-conditioner shelves, pipe ledges and roof edges. They deny a landing strip; they do not stop birds using nearby trees, cables, roofs or wider surfaces.
Do not place them over weep holes, gutters, roof outlets, ventilation openings, access hatches, fire-escape routes or maintenance paths. A spike strip that blocks drainage or catches a worker creates a new hazard. Check the target species too: pigeon spikes can leave gaps that smaller birds use, while large birds can bridge a deep ledge.
| Option | Best fit | Choose it when |
|---|---|---|
| Bird spikes | Narrow, flat ledges and edges | Birds roost repeatedly on one defined surface |
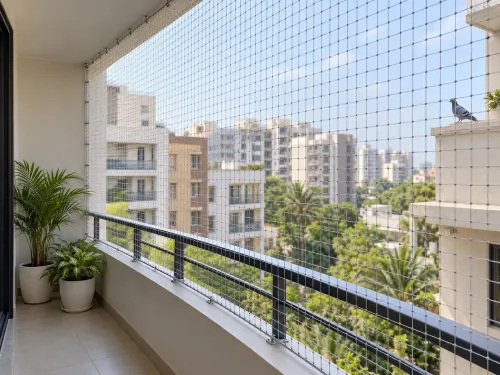
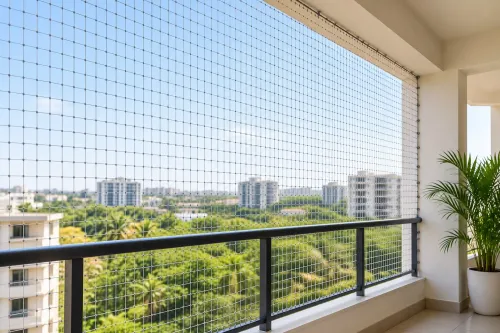
| Netting | Balconies, courtyards, broad roofs and deep recesses | You need complete exclusion from an area |
| Physical screening | Openings, shafts and enclosed voids | Birds enter through a window, grille or structural gap |
| Bird wire | Long, unobstructed ledges | A discreet tensioned barrier suits the surface and species |
| Repellents | Areas where fixing hardware is unsuitable | You can maintain and renew the treatment; do not rely on it for nesting sites |
| Cleaning | Dropping-covered surfaces | Remove the contamination before installing control; wet dried material to suppress dust |
| No physical control | Occasional visits without damage or obstruction | Birds cause no hygiene, drainage, equipment or safety problem |
Spikes are the wrong choice for porous, curved, irregular or heavily obstructed surfaces, and for active nests. Inspect every strip for firm attachment, loose wire ends, pinch points, trapped birds and nesting material after installation.
Measure the ledge before deciding how many rows you need
Measure the ledge in two directions: its length along the exposed edge and its usable depth from the front edge to the rear edge. Do not count space occupied by pipes, brackets, drains, vents, or equipment; a bird can use any clear strip left beside or behind the spike base.
1. Stretch a tape along the full landing edge, including corners, returns and changes in level. Record each straight run separately instead of rounding the whole façade to one figure.
2. Measure the clear depth at several points. If one end is 10 cm deep and another is 18 cm, design for the 18 cm section or divide the ledge into separate rows. A strip advertised as 14 cm coverage protects one 14 cm-wide band, not an entire deep parapet.
3. Calculate rows by dividing each run’s usable depth by 14 cm and rounding up. For a 28 cm clear depth, use two rows; for 30 cm, use three unless the manufacturer specifies a different overlap or coverage arrangement.
4. Divide each run’s length by the spike section length printed on the product, then round up. Multiply that result by the number of rows, and include separate pieces for corners and returns.
5. Check the layout against air-conditioner shelves, pipe ledges, roof edges, parapets and façade joints. Extend coverage to the rear edge without blocking weep holes, outlets or access paths.
Mark every cut and join before fixing. A five-centimetre bare end, a missing corner piece or a gap behind the strip can become the new landing point, so inspect the complete perimeter rather than counting sections alone.
Choose the material and fixing method for the site
The site, not the catalogue, should decide between stainless steel bird spikes and polycarbonate bird spikes. Compare the material against sunlight, chemicals, moisture, substrate strength and the people who must maintain the area.
| Option | Strengths | Choose it when |
|---|---|---|
| Stainless steel bird spikes | Handles ultraviolet exposure and physical impact well; offers better resistance where corrosion exposure is controlled with suitable metal compatibility | The ledge faces harsh weather, cleaning chemicals or frequent maintenance |
| Polycarbonate bird spikes | Light, easier to cut around obstructions and less likely to create a galvanic-metal problem | The surface has limited load capacity, or the installation needs careful trimming |
| Either material | Fails if the base lifts, cracks or leaves landing gaps | The fixing system matches the actual substrate |
Adhesive-only fixing is risky on dusty or porous masonry, damp concrete, old paint and surfaces that move through heat or freeze-thaw cycles. Clean and dry the base, check adhesive compatibility on a small area, and use mechanical fasteners where the substrate or exposure demands them; do not drive anchors into fragile edges.
Keep strips away from weep holes, gutters, roof outlets, ventilation openings, access hatches, fire-escape routes and maintenance paths. The installer must remove sharp wire ends, eliminate pinch points, secure every strip, and inspect for trapped birds or nesting material.
UNIFIRST SALES AND SERVICES should be asked to record the substrate, adhesive or anchor type, spacing, and post-installation inspection plan rather than simply quote a material. Do not install over an active nest; arrange appropriate wildlife guidance first.
Related products
 | BIRD SPIKES 100% Poly Carbonate Bird Spikes Spike Material : UV Stabilized Virgin Poly Carbonate Spike Length : 30 Centimeters Spike Height : 11 Centimeters Point / Pcs : 30 Points Base Width :... View product → |
 | BIRD NET Bird netting or anti bird netting is a form of bird pest control. It is a net used to prevent birds from reaching certain areas. View product → |
Use a decision rule and plan follow-up checks
Use a seven-day evidence test: photograph the same ledge daily, record fresh droppings, feathers, nesting material, or returning birds, and mark blocked drains or fouled air-conditioning units. Install spikes when activity repeats, the ledge suits them, no active nest is present, and food waste, standing water, or open bins have been controlled.
- Address another cause first when birds visit for accessible food, water, or shelter elsewhere. Spikes will not solve a site that continues rewarding them.
- Choose netting or physical screening when you need complete bird exclusion, the area is a broad roof or balcony, or the surface is too wide and irregular for effective spike coverage.
- Choose bird wire or another deterrent when birds use a deep recess, curved edge, or ledge where spikes would create a hazard for people or maintenance workers.
- Stop and arrange specialist cleaning when droppings have accumulated. Wet dried material before removal to suppress dust; high-risk work requires suitable respiratory protection.
- Do not install over an active nest. Wait for lawful resolution and professional advice rather than trapping birds or damaging the nest.
After installation, photograph each strip and schedule a maintenance inspection after 14 days, then after severe weather or façade work. Check for lifted adhesive, missing sections, trapped birds, nesting material, and debris that could obstruct a drain or ventilation opening. Remove anything that blocks access or creates a pinch point.
Frequently asked questions
How can you tell whether birds are roosting or nesting?
Repeated droppings, fresh feathers, and birds returning to the same ledge each day indicate roosting. Nest material, eggs, or chicks indicate nesting, which requires a different response before access is blocked.
How do you choose bird spikes for a particular surface?
Match the control to the ledge width, bird behaviour, and mounting surface. Check whether the surface accepts adhesive, screws, or another fixing method, and avoid covering only part of the landing area.
Why should you measure the ledge before installing bird spikes?
Measure the ledge length and usable width to determine how many spike sections and rows are needed. Include corners, returns, gaps, and areas around pipes or equipment.
What should you check after installing bird spikes?
Inspect for uncovered landing areas, loose fixings, displaced sections, and new roosting beside the treatment. Schedule follow-up checks and close any gaps you find.