Pigeons can reach ceiling-mounted clothes hangers through wall junctions, pipe openings, side gaps and the space above a loose net. You will be able to choose the mesh, measure the complete hanger zone, plan a usable enclosure, clean existing contamination safely and check an installation before it is sealed.
Key takeaways
- Choose 35 mm mesh for pigeons; use 19–25 mm to exclude smaller birds and chicks.
- Measure the full ceiling-hanger opening, including overlap and fixing points.
- Clean droppings and remove nests before sealing the space with netting.
- Leave enough clearance for loading, unloading and drying clothes comfortably.
Will a 35 mm net stop pigeons around a ceiling cloth hanger?
A 35 mm opening is commonly suitable for excluding pigeons around a ceiling cloth hanger, but it does not guarantee exclusion of smaller birds or chicks. If you must exclude those birds too, choose approximately 19–25 mm openings; expect more visual weight, higher cost and greater wind load.
Pigeons exploit the ceiling-wall junction, side edges, drain openings, service ducts and the space above the net. A nylon bird net for bird mess works only when the barrier closes every route, including corners, pipe penetrations and the hanger frame.
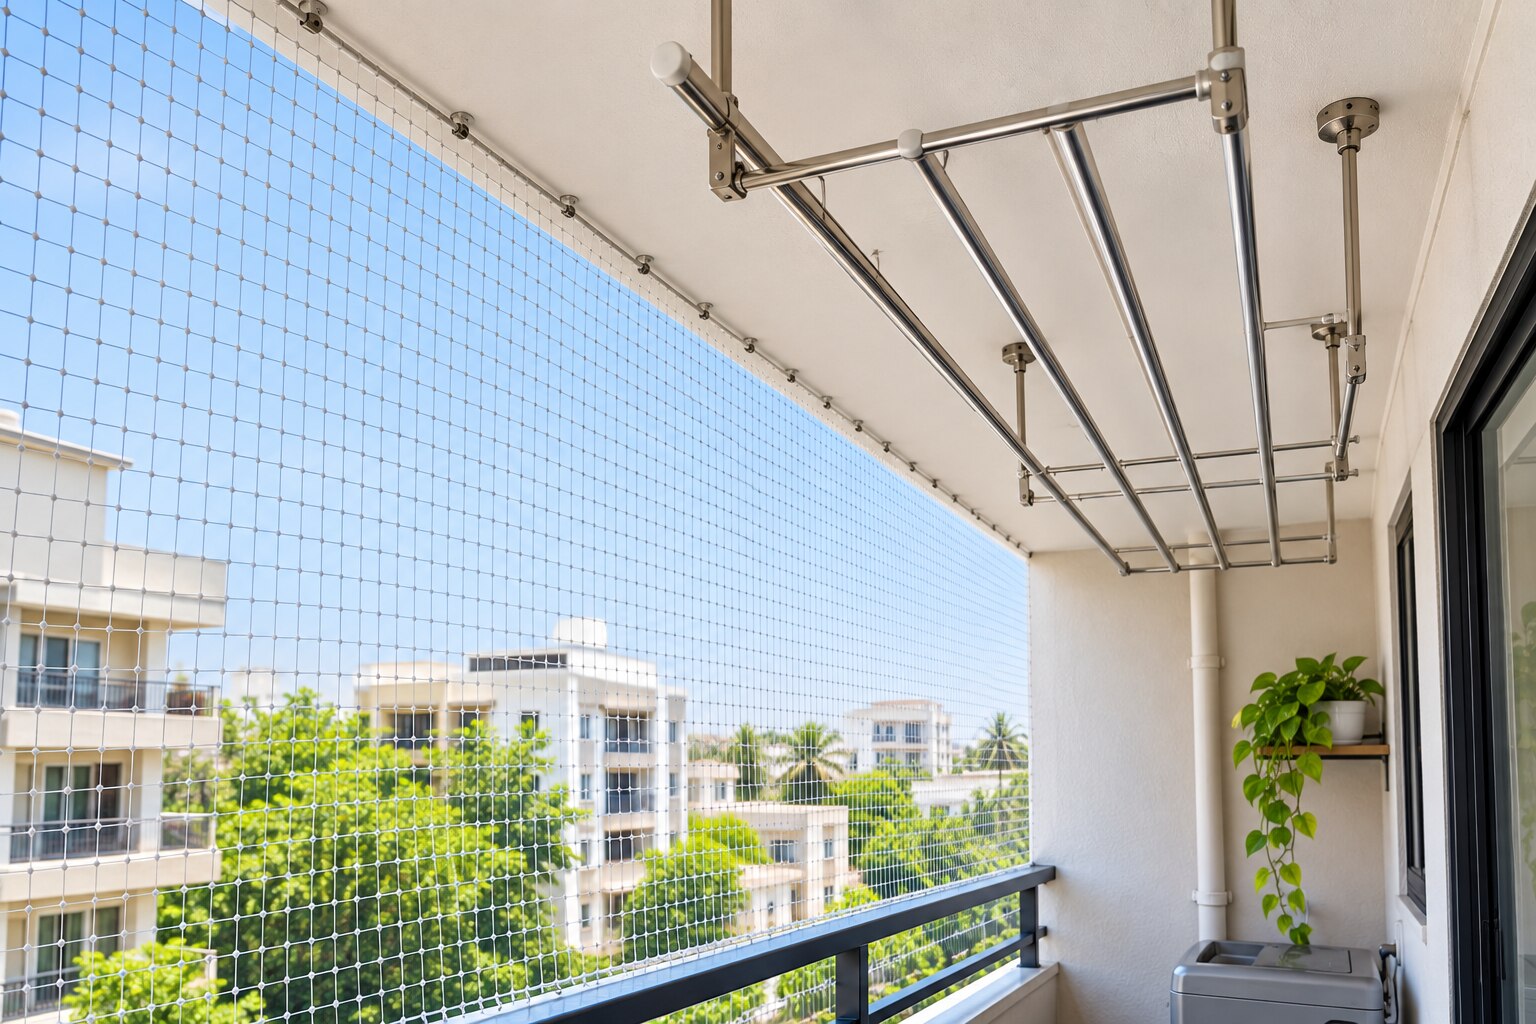
For ceiling cloth hanger pigeon mess, use a fully enclosed or perimeter-tensioned volume rather than a loose sheet laid over clothes.
| Option | What it means | When it applies |
|---|---|---|
| Complete enclosure | Netting surrounds the hanger volume on every exposed side | Use when pigeons approach from above, sides or the room |
| Sloped barrier | A tensioned incline blocks the flight path and sheds droppings away | Use when the ceiling and walls allow sealed upper and lower edges |
| Vertical screen | A taut screen closes the open front or side | Use when birds enter mainly from one direction |
| Partial overhead panel | A sealed panel covers only the route directly above | Use only when walls, corners and side access already prevent entry |
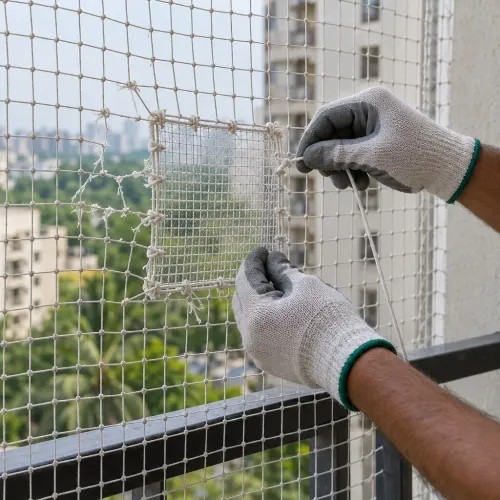
A slack net creates pockets where birds perch or become trapped. Fix the perimeter continuously to sound material, tension the net around the hanger frame, and add intermediate support across large spans. Keep pulley movement, retractable rails, clothing access and ventilation clear.
How to measure the ceiling cloth-hanger area before ordering a net
Measure the space as a three-dimensional enclosure, not just the visible front opening. An incomplete edge at the ceiling-wall junction or hanger frame can leave a route for pigeon entry and recurring pigeon mess.
1. Record floor-to-ceiling height, wall-to-wall width, the hanger’s full projection from the wall, and the hanger’s distance from each side wall. Take each measurement at both ends if the walls or ceiling are uneven.
2. Draw the room to scale and mark every corner, beam, column, pipe, drain outlet, light fitting, fan, duct and irregular wall surface. Note the measured size and position of each obstruction.
3. Measure access gaps at the ceiling-wall junction and around the complete hanger frame. Include spaces behind brackets and above the frame; do not measure only the open area visible from the floor.
4. Mark pulley lines, retractable rails, removable panels, loading paths and the route you use to hang and remove clothes. Record the maximum travel and clearance required by each moving part.
5. Use the sketch to test the design: a vertical screen suits a clear front approach, a sloped panel suits a high side approach, and a complete enclosure suits routes through corners, above the hanger or around its sides.
6. Mark a safe cleaning route and a planned release or maintenance opening before tensioning the net. Keep ventilation paths open, but close every remaining gap so it is not large enough for a pigeon.
The final layout must clear pulley movement, retractable mechanisms, electrical equipment and fan blades. Confirm that a person can safely reach the net, inspect its edges and remove trapped debris without cutting a tensioned panel.
Clean pigeon droppings and check for nests before sealing the space
Netting is exclusion, not a cleaning treatment. Old droppings, feathers, odour, stains and parasites remain on the hanger, walls and floor unless you remove them before sealing the space. A nylon bird net for bird mess stops re-entry; it does not remove existing contamination.
Wet accumulated mess before removal. Wear gloves and a well-fitting mask or suitable respiratory protection, and never dry-sweep or dry-vacuum droppings because contaminated dust can become airborne.
| Cleaning method | Main risk or benefit | Use |
|---|---|---|
| Dry sweeping or vacuuming | Spreads contaminated dust | Do not use |
| Wetting before removal | Reduces airborne dust | Use before cleaning |
| Heavy contamination | Greater exposure to pathogens | Get specialist help |
People with weakened immune systems should not clean heavily contaminated areas. Histoplasmosis is a recognised concern linked to soil or material contaminated by bird or bat droppings.
Before installation, inspect:
- Behind the hanger and above beams
- Near ducts, pipes and other concealed routes
- Along the ceiling edge and wall junction
Look for nests, eggs and chicks. Do not seal an occupied nest or block adult birds from dependent young. Contact a local wildlife rescue service if a nest contains eggs or chicks, or if safe removal is uncertain.
Plan an access point before tensioning the net so a bird entering during work can be released. Never cut a tensioned net as an improvised rescue method. Ensure the finished design also permits periodic cleaning, because feathers and dust can still collect on the net.
Choose the right barrier for an overhead clothes-hanger location in Nagpur
Choose a nylon bird net for bird mess when birds can enter the entire ceiling-hanger volume; choose spikes only when the problem is a narrow landing surface.
| Option | Solves | Limitation |
|---|---|---|
| UV-stabilised nylon mono-filament | Overhead exclusion with lower visual weight | Can stretch, absorb moisture and lose strength in prolonged sunlight |
| HDPE bird netting | Durable material for common outdoor use | May look heavier in the opening |
| Metal mesh | A rigid, permanent barrier | Adds visual weight and needs suitable corrosion protection |
| Bird spikes | Landing on narrow ledges or beams | Cannot stop birds flying through the hanger volume |
| Cleaning alone | Removes droppings, feathers and stains | Does not stop re-entry |
Do not treat indoor fishing or cargo netting as an exposed product. Specify the polymer, UV treatment, mesh opening, twine diameter and warranty; “nylon” alone tells you too little. For nylon bird net installation in Nagpur, ask how the design handles intense heat, dust, monsoon exposure, corrosion-resistant anchors and inspection intervals.
Ask the installer to check:
- Whether adjacent beams or ledges need spikes as supplementary treatment
- Whether the net leaves every approach route closed, including the perimeter
- Whether the hanger, pulley lines and retractable rails remain usable
- Whether anchors and tensioning can be inspected without dismantling the hanger
UNIFIRST SALES AND SERVICES can assess the opening, hanger operation and perimeter before recommending a fitting approach, rather than quoting fabric alone.
Related product
 | BIRD NET Material Composition / Types > Mono Filament Net > Transparent > 35 mm > 3 years warranty Fittings > Hooks > Rope Wire > Tie View product → |
Check that the finished net protects clothes without making the hanger unusable
Before signing off, inspect the completed enclosure from the bird’s approach side. A ceiling cloth hanger pigeon mess problem is not solved if one open junction remains behind the net.
1. Check every edge, including wall junctions, pipe penetrations, beams, light fittings, drainage outlets, hanger brackets and uneven masonry. Confirm there is no visible hand-sized gap and that the perimeter is continuously secured.
2. Confirm the net is taut, supported across large spans and clear of hot electrical equipment, moving fans, sharp metal edges and drainage paths. A loose section can form a pocket where a bird perches or becomes trapped.
3. Operate the hanger through its full travel. Load clothes, pull pulley lines, retract rails, open removable panels and remove garments; nothing should catch, snag or block the loading route.
4. Check that ventilation remains adequate and that the enclosure creates no inaccessible pocket. Require a safe route for periodic cleaning and retensioning, because dust, feathers and droppings settle on netting after entry stops.
5. Record an inspection schedule for brittleness, fraying, loose anchors and lost tension. For nylon bird net installation in Nagpur, inspect after intense sun, heat, dust and seasonal rain, then repair failed fixings promptly.
6. Complete the acceptance test: no trapped bird, no blocked access and no untreated adjacent perch leading back into the hanger zone. Reject the installation until each point passes.
Frequently asked questions
Will a 35 mm net stop pigeons around a ceiling cloth hanger?
A 35 mm opening is commonly suitable for excluding pigeons, but it will not guarantee exclusion of smaller birds or chicks. Choose approximately 19–25 mm openings when those birds must also be excluded.
How should you measure a ceiling cloth-hanger area before ordering nylon bird netting?
Measure the full width, length and usable height of the area, then identify every fixing point and add enough overlap for secure attachment without obstructing the hanger.
What should you do before sealing pigeon mess and nests behind a ceiling hanger?
Clean the droppings and inspect for nests before installation. Do not seal an occupied nest inside the enclosed area; arrange safe removal in line with local wildlife rules.
Which barrier suits an overhead clothes-hanger location in Nagpur?
Compare nylon mesh opening size, UV resistance, fixing method, airflow, appearance and clearance. Use tighter 19–25 mm mesh for smaller birds and 35 mm mesh when pigeons are the main problem.
How can you keep a finished bird net from making the ceiling hanger unusable?
Keep the net taut, maintain clearance around the hanger and leave a practical access point for loading and removing clothes. Test the hanger through its full movement before accepting the installation.
Keywords